Ingredients
Equipment
Method
- Cook the fresh corn kernels in boiling water until tender, then let them cool completely. If using canned or frozen corn, rinse and drain thoroughly, then pat dry to remove excess moisture. This step ensures your chips will crisp up nicely.
- Transfer the cooled corn to a mixing bowl. Add the oil and salt, then mash everything together with a fork or masher until the mixture is mostly smooth but still has some texture. This process helps form a cohesive dough-like base for your chips.
- Lightly flour a clean surface and transfer the mashed corn mixture onto it. Use a rolling pin to gently roll out the dough to about 1/8 inch thickness. Keep the dough even to ensure uniform baking and crispness.
- Use a sharp knife or pizza cutter to cut the rolled dough into small triangles or your preferred chip shape. Try to make the shapes as uniform as possible so they bake evenly and look pretty.
- Line your baking sheet with parchment paper or a silicone mat. Arrange the cut chips in a single layer on the sheet, leaving a little space between each. Lightly spray or brush the tops with a bit of oil for extra crispness.
- Bake the chips in a preheated oven at 180°C (350°F) for 15-20 minutes. Keep an eye on them around the 15-minute mark; they should turn golden and produce a gentle crackling sound when tapped. Remove once they’re crisp and golden brown.
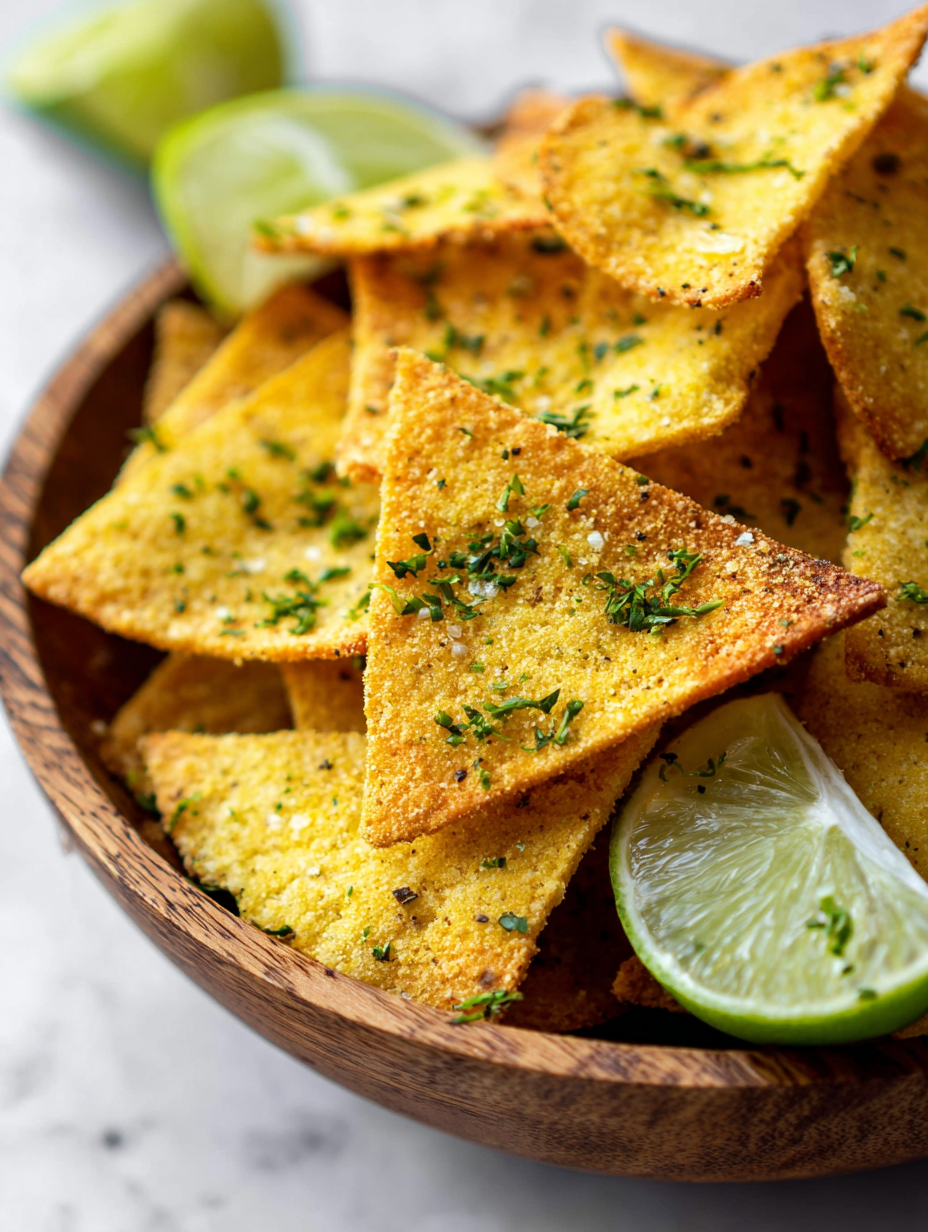
- Let the baked chips rest on the baking sheet for about 5 minutes to cool and crisp up further. They’ll develop a beautiful golden color and a satisfying crunch.
- Transfer the chips to a wire rack or serve directly. Sprinkle with a little extra sea salt or your favorite seasonings while still warm for added flavor. Enjoy these fresh, crispy chips on their own or with your favorite dips!
Notes
For extra flavor, sprinkle smoked paprika, chili powder, or cumin before baking. Store cooled chips in an airtight container for up to 3 days; reheat in the oven at 150°C (300°F) for 5 minutes to restore crispness.