
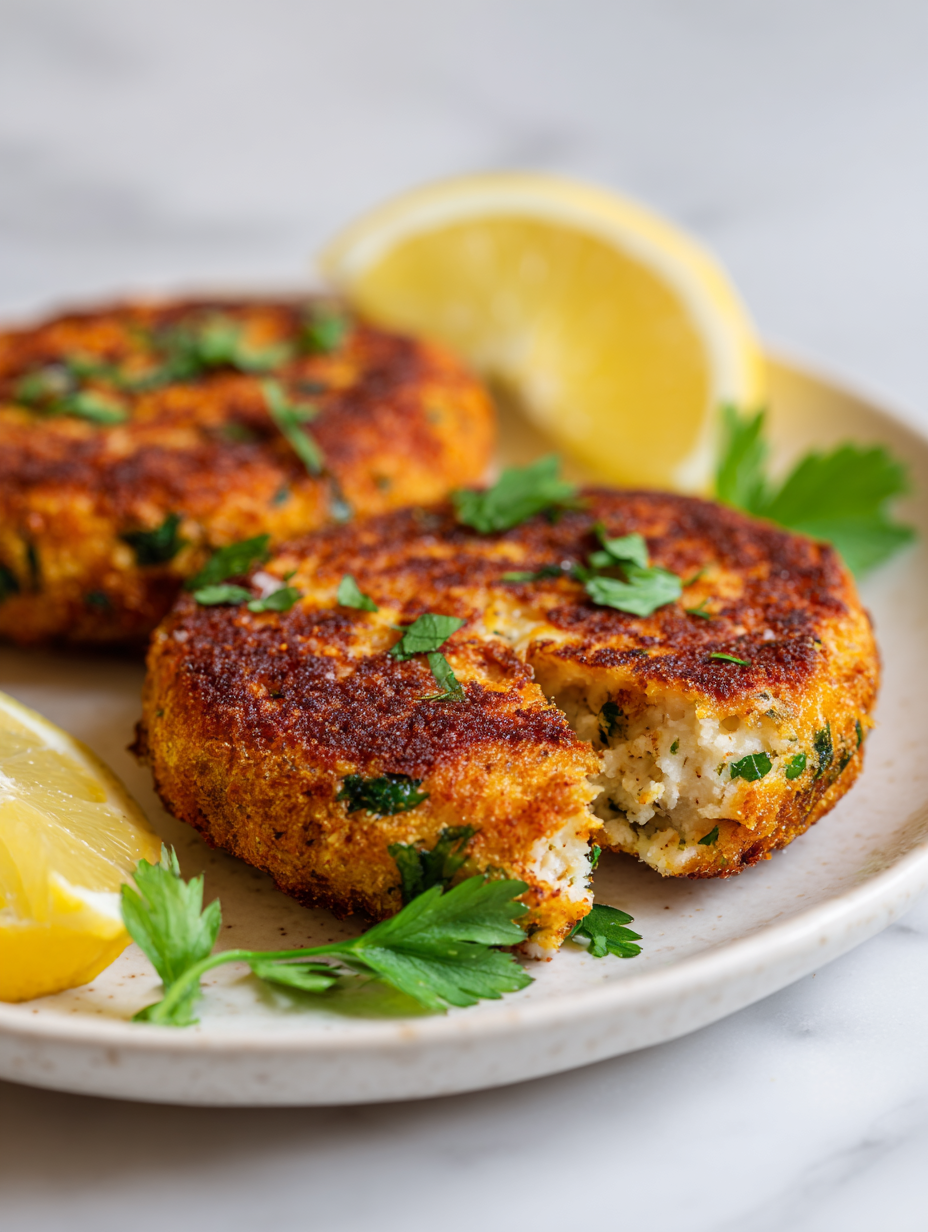
Making paneer cutlets that are crispy on the outside but tender inside is a little dance of technique and patience. It’s about getting that perfect golden crust without sacrificing the melt-in-your-mouth feel of good paneer. I’ve learned that the secret lies in the right balance of spices, crumbs, and gentle handling, which makes all the difference when you bite in.
This recipe is a reminder that simple ingredients, when treated right, turn into something special. The crispy exterior gives way to a soft, creamy center that’s just addictive. It’s one of those snacks that feels familiar but has a touch of something extra—maybe a pinch of ginger or a splash of lemon to brighten it up.
Focusing on how to make paneer cutlets that are crispy on the outside but melt-in-your-mouth tender inside, emphasizing the importance of balancing texture with flavor for a satisfying snack or meal.
Crispy Outside, Melty Inside
- I love how the paneer gets this perfect golden crust, it’s like a little crispy shield around that creamy center.
- Biting into a hot, just-fried cutlet with that hint of ginger and cumin instantly takes me back to family dinners.
- There’s a quiet satisfaction in mastering the right fry—crisp enough to hold together but tender inside, no sogginess in sight.
- Sometimes I get carried away tasting the spicy mixture before shaping—those bold flavors really set the tone for the whole bite.
The story behind this recipe
I stumbled upon this recipe one rainy afternoon, craving something warm and satisfying but with a twist—something that reminded me of street food stalls back home. The moment I fried my first batch, the crispy exterior and soft interior instantly transported me to those bustling markets, where vendors toss cutlets into hot oil with a flick of the wrist. Since then, it’s become my go-to for quick snacks that carry a little piece of childhood nostalgia, yet feel fresh and new with each batch.
Historical and Cultural Roots
- Paneer, originating from the Indian subcontinent, has been a staple for centuries, celebrated for its versatility and quick curdling process.
- The concept of cutlets likely evolved from street food vendors, who needed a portable, crispy snack that could be made quickly from leftovers or simple ingredients.
- In many Indian households, frying paneer with spices and breadcrumbs is a tradition that combines both practical resourcefulness and flavor enhancement—frying makes it more appealing and digestible.
- During colonial times, adapting local ingredients into fried snacks like paneer cutlets became a clever way to blend culinary influences and create comforting street foods.
Key Ingredients
- Paneer: I prefer homemade or fresh store-bought paneer—smooth, soft, with a mild milky flavor that crisps up beautifully when fried. Skip the crumbly stuff to keep the cutlets tender.
- Breadcrumbs: Use panko for extra crunch, or crushed plain biscuits if you want a lighter coating. The texture should be coarse enough to cling well and give a satisfying bite.
- Spices: I like a mix of cumin, coriander, and a pinch of garam masala. They add warmth and complexity—don’t be shy, but taste your spice blend before mixing.
- Binding mix: I use a combination of mashed boiled potatoes and a splash of lemon juice—helps hold everything together and brightens the flavor. If too loose, add a little more paneer or breadcrumbs.
- Oil: Go for a neutral oil with a high smoke point like sunflower or refined mustard oil. It adds a subtle aroma and ensures crispness without burning or excess greasiness.
- Herbs & aromatics: Fresh coriander and a hint of green chili give these cutlets a fresh kick. Chop finely so they distribute evenly, and avoid overpowering the delicate paneer flavor.
- Optional add-ins: A sprinkle of finely chopped ginger or a dash of pepper can elevate the flavor profile. Keep it balanced—paneer’s subtlety should shine through.
Spotlight on key ingredients
Paneer:
- I love homemade paneer—soft, milky, with a subtle texture that crisps up beautifully when fried. Skip the crumbly type for tender cutlets.
- Its ability to hold shape under gentle handling makes it perfect for shaping into patties that stay intact during frying.
Breadcrumbs:
- I prefer panko for extra crunch, or crushed plain biscuits if I want a lighter, more delicate coating. Coarse texture helps cling better.
- They give that satisfying crunch, and if you toast them lightly before coating, they add a toasted, smoky aroma.
Notes for ingredient swaps
- Dairy-Free: Swap paneer for firm tofu—less creamy, but still satisfying with a slightly firmer bite.
- Gluten-Free: Use crushed rice crackers or almond meal instead of breadcrumbs for a nutty crunch and free-from gluten.
- Low-Sodium: Reduce salt and spice levels, or substitute with potassium-rich salt alternatives for a healthier twist.
- Vegan: Replace paneer with seasoned cashew cheese or tempeh—both hold up well and add unique flavor notes.
- Spice Variations: Use smoked paprika or chili powder instead of garam masala—adds a smoky or fiery kick, respectively.
Equipment & Tools
- Mixing bowl: Combine ingredients and knead the mixture.
- Flat plate: Coat the cutlets evenly with breadcrumbs.
- Frying pan: Cook the cutlets, providing even heat for crisping.
- Spatula: Turn and flip the cutlets gently during frying.
- Paper towels: Drain excess oil after frying.
Step-by-step guide to paneer cutlets
- Equipment & Tools: Gather a mixing bowl, a flat plate for coating, a frying pan (about 25 cm / 10 inches), a spatula, and paper towels for draining.
- Crumble the paneer into a large bowl. Use your fingers to break it apart until fine but not mushy, about 2 minutes.
- Add finely chopped herbs, spices, and a pinch of salt. Mix well to distribute flavors evenly, about 1 minute.
- Incorporate the mashed potato and lemon juice. Mix thoroughly — the mixture should hold together when shaped. If too loose, add a little more paneer or breadcrumbs.
- Shape the mixture into small, flat patties, roughly 8 cm (3 inches) diameter, about 1 cm (0.4 inches) thick. Handle gently to keep the shape.
- Prepare the coating: spread breadcrumbs on a plate. Roll each patty gently in the crumbs until evenly coated. Shake off excess.
- Heat oil in the pan over medium heat (about 180°C / 356°F). When hot, carefully place the cutlets in the oil, 3-4 at a time depending on pan size.
- Fry for 3-4 minutes on each side, until golden brown. The oil should crackle softly, and the cutlets should turn a rich amber color.
- Use tongs or a slotted spatula to turn and flip. If they stick, give them a gentle nudge. If oil sputters excessively, lower heat slightly.
- Once golden and crispy, transfer to paper towels to drain excess oil for about 1 minute. Avoid overcrowding the pan to maintain temperature.
- Resting & Finishing: Serve immediately, garnished with a sprinkle of fresh herbs or lemon wedges. Rest for 1 minute before plating to settle.
- Checkpoints & How to Know It’s Done: The cutlets should be crispy on the outside, firm but tender inside, with a uniform golden color. Internal temp around 75°C (165°F). They crackle when pressed, and the coating is dry and crisp.
Serve the paneer cutlets hot, garnished with fresh herbs or lemon wedges. Rest for a minute on paper towels to settle the crispness before plating.
How to Know It’s Done
- Color: Deep golden brown coating, uniform all over.
- Texture: Crispy exterior, soft and melty inside when pressed gently.
- Appearance: No raw or soggy spots, coating adheres well during frying.
Crispy Paneer Cutlets
Ingredients
Equipment
Method
- Crumble the paneer into a large mixing bowl, breaking it apart with your fingers until it’s fine but not overly mushy, about 2 minutes.
- Add the mashed potato, cumin, coriander, garam masala, salt, chopped coriander, green chili, and lemon juice to the paneer. Mix everything thoroughly until the spices and herbs are evenly distributed, about 1 minute.
- Shape the mixture into small, flat patties roughly 8 cm in diameter and about 1 cm thick, handling gently to keep the shape intact.
- Spread the breadcrumbs evenly on a flat plate. Roll each patty gently in the breadcrumbs, pressing lightly to ensure they stick well and form an even coating.
- Heat oil in a frying pan over medium heat until shimmering and hot, about 180°C (356°F). Carefully place 3-4 cutlets into the pan, ensuring they have space to cook evenly.
- Fry the cutlets for 3-4 minutes on each side, until they turn a deep golden brown and crispy. Listen for a gentle crackle and see the coating turn golden and firm.
- Use a spatula or tongs to flip the cutlets carefully, ensuring they don’t break. Fry until both sides are evenly crisp and golden, adjusting the heat if necessary.
- Transfer the cooked cutlets onto paper towels to drain excess oil. Repeat the frying process with remaining cutlets, maintaining oil temperature.
- Serve the hot, crispy paneer cutlets immediately, garnished with extra coriander or lemon wedges if desired. They should be crunchy on the outside and tender inside, perfect for enjoying right away.
Pro tips for perfect paneer cutlets
- Coating: Press breadcrumbs firmly onto the paneer mixture to ensure they stick during frying.
- Crispy Texture: Use panko breadcrumbs for an extra crunch and a light, airy coating that shatters with each bite.
- Oil Temperature: Maintain oil at 180°C (356°F); if too hot, cutlets burn quickly, too low, they absorb oil and turn soggy.
- Gentle Handling: Don’t press too hard when shaping the cutlets; keep them tender and avoid cracking the coating.
- Frying in Batches: Fry only 3-4 cutlets at a time to keep the oil temperature steady and achieve even crispiness.
- Drain Properly: Rest fried cutlets on paper towels immediately to soak up excess oil and keep the crust crisp.
- Final Crisp: For extra crunch, give cutlets a quick second fry at 160°C (320°F) for 30 seconds before serving.
Common mistakes and how to fix them
- FORGOT to check oil temperature → Use a thermometer to maintain 180°C (356°F).
- DUMPED too much flour or breadcrumbs → Coat evenly for a crispy, not greasy, crust.
- OVER-TORCHED the cutlets → Turn frequently to prevent burning and achieve golden color.
- UNDER-COOKED inside → Fry until firm and golden, then rest briefly before serving.
Quick fixes and pantry swaps
- When oil shimmers, splash a tiny drop of water—if it crackles, it’s ready.
- Splash a few drops of water on the oil—if it splatters, lower the heat.
- Patch soggy cutlets with a quick second fry—30 seconds at 160°C (320°F).
- Shield burned coating by lowering heat immediately and removing the pan from burner.
- Swap panko breadcrumbs with crushed plain biscuits for a lighter, crisp coating.
Prep, store, and reheat tips
- Prepare the paneer mixture and shape the cutlets a day in advance; keep covered in the fridge for up to 24 hours. The flavors deepen overnight, and they firm up slightly, making frying easier.
- Coated cutlets can be refrigerated for 2-3 hours before frying. They might lose a little crispness, but a quick fry still brings back a nice crunch.
- Fried cutlets are best enjoyed fresh, but can be stored in an airtight container in the fridge for up to 24 hours. Reheat in a hot oven or air fryer for 5-7 minutes until crisp and hot, with a satisfying crackle.
- Avoid freezing raw or cooked cutlets unless you plan to reheat directly from frozen. If frozen, fry from cold, allowing extra time for thorough cooking and crisping. Expect slightly less crispness upon reheating.
Frequently Asked Questions
1. Can I use store-bought paneer?
Use firm, fresh paneer that isn’t crumbly. It crisps nicely when fried and holds shape well.
2. Is homemade paneer necessary?
Yes, but make sure it’s soft and fresh. Older or crumbly paneer won’t hold together well.
3. Can I use regular breadcrumbs?
Absolutely, panko breadcrumbs give the cutlets a lighter, crunchier coating. Regular breadcrumbs work fine, just less airy.
4. Can I bake these instead of frying?
Yes, you can bake the cutlets at 200°C (392°F) for about 15-20 minutes until crispy, but frying gives the best texture.
5. How hot should the oil be?
Make sure the oil is hot enough, around 180°C (356°F). If it’s too cold, the cutlets will absorb oil and get soggy.
6. Can I make these in advance?
Yes, you can prepare the mixture and shape the cutlets a day ahead. Keep covered in the fridge overnight.
7. Can I freeze and re-fry these?
Fry them briefly from frozen, adding a few extra minutes. Expect slightly less crispness but still tasty.
8. How do I know when they’re done?
Cook until they’re deep golden and crispy on the outside, and the inside is soft and melty. They should crackle when pressed.
9. What if they burn or stay soggy?
If they turn dark too quickly, lower the heat slightly. If they’re not crisp enough, increase the heat gradually.
10. How do I test if the oil is hot enough?
Splash a little water in hot oil to test if it shimmers—indicates it’s ready. Always be cautious with hot oil.
These paneer cutlets are a little reminder that simple ingredients can create moments of comfort, especially when crispy on the outside and tender inside. They’re perfect for when you want something hearty but quick, and they carry a little piece of home in every bite. Sometimes, all it takes is a hot pan and a sprinkle of spice to turn everyday ingredients into something special.
Making these on a busy afternoon or for an impromptu snack feels satisfying because they come together quickly and deliver flavor that lingers. The aroma of frying spices and toasted breadcrumbs fills the kitchen with a sense of warmth and familiarity. It’s these small, honest cooking moments that keep me coming back to this recipe again and again.