
There’s something quietly nostalgic about peeling back the layers of a crispy, golden chip, knowing it’s made from humble cassava. Baking these chips instead of frying keeps them light but still satisfy that craving for something crunchy and satisfying. It’s a simple, honest snack that feels like a small act of self-care, a way to reconnect with familiar flavors in a healthier form.
I’ve always loved how cassava’s natural sweetness and chewy texture transform when baked into chips. No oil splatters, no greasy fingerprints on the counter—just a straightforward process that yields surprisingly crispy results. It’s one of those recipes that reminds me how good it feels to turn everyday ingredients into something a little special, without fuss.
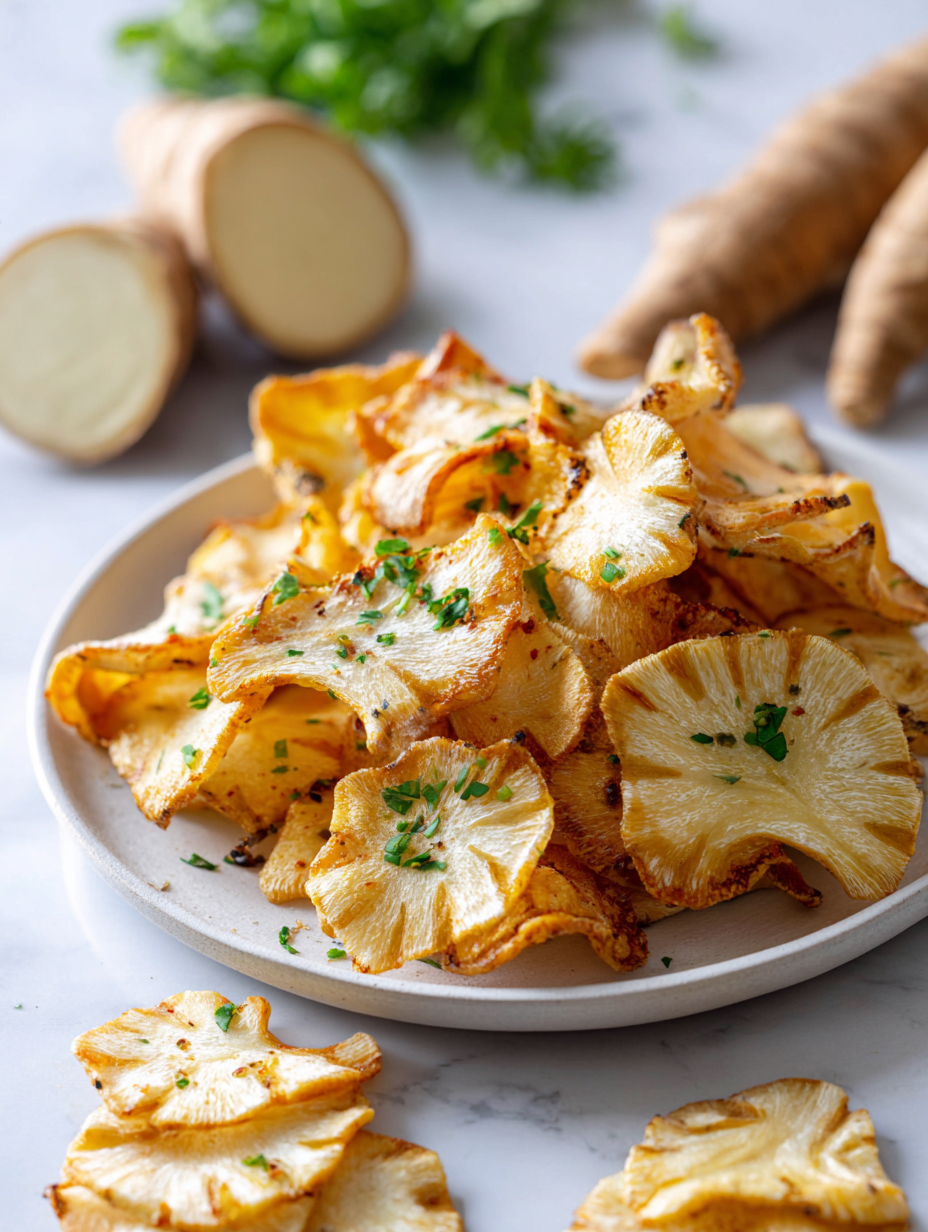
Focusing on the nostalgic comfort of homemade snacks, this recipe highlights the surprising versatility of cassava—often overlooked as more than just a root vegetable. Baking instead of frying reveals its natural sweetness and chewy texture, making it a guilt-free treat that’s deeply satisfying and oddly addictive. It’s about reconnecting with simple, honest ingredients and turning them into something unexpectedly crispy and flavorful.
The story behind this recipe
- This recipe was born out of late-night cravings for something crunchy and satisfying, but I didn’t want to deal with the mess of frying. One evening, I grabbed a cassava root from the back of the pantry, peeled it with a quiet hope, and sliced it thin. Baking these chips felt like reclaiming a childhood snack—simple, honest, and a little rebellious against the usual greasy options.
- There’s a nostalgic charm in turning humble roots into something crispy and flavorful. I remember the first batch coming out of the oven, golden and fragrant, with that faint sweetness that reminds me of sun-warmed fields. It’s a small victory, making a snack from scratch that’s both wholesome and deeply comforting.
- heading: “The story behind this recipe”
Key ingredients and tips
- Cassava: I love how this starchy root turns crispy with just a bit of baking heat—look for firm, blemish-free roots, or use frozen grated cassava for convenience.
- Olive oil: A light brush of good extra virgin adds a subtle fruity note and helps with crisping—skip or reduce if you want a drier chip.
- Sea salt: I prefer flaky sea salt for that burst of briny crunch, but fine salt works if that’s what you have in the pantry.
- Paprika or chili powder: A dash of smoked paprika gives a warm, smoky aroma, while chili adds a spicy kick—adjust to your heat tolerance.
- Optional herbs: Fresh thyme or rosemary bring a fragrant herbal note—use sparingly, as they can burn quickly in the oven.
- Pepper: Freshly cracked black pepper adds a subtle pungency and a little visual contrast—don’t skip it if you like a bit of bite.
- Lemon zest: Brightens the flavor with a zingy, citrus aroma—add just before serving to keep it fresh and vibrant.
Spotlight on key ingredients
Cassava:
- I love how this starchy root turns crispy with just a bit of baking heat—look for firm, blemish-free roots, or use frozen grated cassava for convenience.
- Olive oil: A light brush of good extra virgin adds a subtle fruity note and helps with crisping—skip or reduce if you want a drier chip.
- Sea salt: I prefer flaky sea salt for that burst of briny crunch, but fine salt works if you have it on hand.
Olive oil:
- A light brush of good extra virgin adds a subtle fruity note and helps with crisping—skip or reduce if you want a drier chip.
- Sea salt: I prefer flaky sea salt for that burst of briny crunch, but fine salt works if you have it on hand.
Notes for ingredient swaps
- Dairy-Free: Skip butter or cream; use coconut oil for richness with a tropical aroma.
- Gluten-Free: Use a gluten-free baking powder or omit entirely; chips stay crispy without it.
- Vegan: Replace honey with maple syrup or agave; keeps the chips sweet and plant-based.
- Salt Variants: Sea salt provides a clean, briny punch; table salt is fine if measured carefully.
- Herbs & Spices: Fresh herbs like rosemary or thyme are vibrant; dried versions work but are less fragrant.
- Sweet Touch: A sprinkle of cinnamon or sugar can add a cozy, sweet twist before baking.
- Oil Choices: Avocado oil adds a mild, nutty flavor; flavor is more subtle than olive oil but still effective.
Equipment & Tools
- Baking sheet: To hold and bake the cassava slices evenly.
- Mandoline or sharp knife: To slice the cassava into thin, uniform rounds.
- Parchment paper: To prevent sticking and facilitate easy cleanup.
- Pastry brush or bowl: To lightly coat slices with oil.
- Tongs or spatula: To flip the slices halfway through baking.
- Wire rack: To cool the chips and help them crisp further.
Step-by-step guide to baked cassava chips
- Equipment ready: line a large baking sheet with parchment paper, have a sharp knife or mandoline, and a small brush on hand.
- Peel the cassava: use a vegetable peeler to strip the thick skin, revealing the firm, white flesh underneath. Aim for smooth, even peeling.
- Slice thin: using a mandoline or a sharp knife, cut the cassava into very thin, uniform rounds—about 1mm thick. Thinner slices crisp up better.
- Preheat oven: set to 180°C (350°F). Make sure your oven rack is in the middle position for even baking.
- Toss with oil: lightly brush or toss the slices with a tablespoon of olive oil, ensuring each piece is coated but not greasy.
- Arrange in a single layer: spread the slices in a single, overlapping layer on the prepared baking sheet. Don’t crowd to avoid steaming.
- Bake: place in the oven for 15-20 minutes. Keep an eye on them as they turn golden around the edges and start to crackle.
- Flip halfway: after 8-10 minutes, carefully flip the chips using tongs or a spatula for even crisping.
- Check for doneness: edges should be golden, crispy, and firm. Aromas of toasted cassava and a hint of caramel should fill the air.
- Cool slightly: remove from oven, let sit for 2 minutes on the sheet, then transfer to a wire rack to cool completely. They will crisp up further as they cool.
- Finish and serve: sprinkle with a pinch of sea salt or your favorite seasoning while still warm. Serve immediately or store in an airtight container.
Let the chips cool on a wire rack for a few minutes to maximize crispness. Sprinkle with a pinch of sea salt or your preferred seasoning while still warm. Serve immediately for the best crunch, or store in an airtight container for up to 2 days.
How to Know It’s Done
- Chips are golden and crispy around the edges.
- They crackle when you handle them, indicating perfect crunch.
- The aroma of toasted cassava and slight sweetness is prominent.
Baked Cassava Chips
Ingredients
Equipment
Method
- Peel the cassava roots with a vegetable peeler, removing the thick outer skin to reveal the smooth, white flesh underneath.
- Using a mandoline or a sharp knife, slice the cassava into very thin, uniform rounds about 1mm thick—thinner slices will crisp up better.
- Pat the slices dry with a clean towel or paper towel to remove excess moisture, which helps them crisp in the oven.
- Preheat your oven to 180°C (350°F) and line a baking sheet with parchment paper for easy cleanup.
- In a small bowl, whisk together olive oil, sea salt, and smoked paprika to create a seasoned oil mixture.
- Using a pastry brush or your fingers, lightly coat each cassava slice with the seasoned olive oil, ensuring even coverage without soaking the slices.
- Arrange the slices in a single layer on the prepared baking sheet, making sure they don't overlap to allow even baking and crisping.
- Bake in the preheated oven for 15-20 minutes, flipping the slices halfway through with tongs or a spatula, until they are golden and crispy around the edges.
- Once baked, remove the chips from the oven and transfer them to a wire rack to cool for a few minutes. They will continue to crisp as they cool.
- Sprinkle with additional sea salt or your favorite seasoning while still warm, then serve immediately for the best crunch or store in an airtight container for up to 2 days.
Notes
Pro tips for crispy baked cassava chips
- Thin slices are key → Use a mandoline for even, delicate chips that crisp up perfectly.
- Keep slices dry → Pat cassava slices dry after washing to prevent steaming and soggy chips.
- Watch oven closely → Bake at 180°C (350°F) and check around 15 minutes; chips turn golden quickly.
- Flip halfway → Turn slices with tongs at the 8-10 minute mark for even crisping and color.
- Cool on a wire rack → Let chips rest for a few minutes to maximize crunch and prevent sogginess.
- Season while warm → Sprinkle with salt or spices as soon as they come out of the oven for better adhesion.
- Avoid overcrowding → Arrange slices in a single layer to ensure even baking and crisp edges.
Common mistakes and how to fix them
- FORGOT to check chip color → Ensure edges are golden and crispy.
- DUMPED too much oil → Use just a light brush or spray for even crispiness.
- OVER-TORCHED chips → Remove from oven once edges are amber and crackle.
- UNDER-COOKED slices → Bake longer until they turn crisp and fragrant.
Quick fixes and pantry swaps
- When chips are soggy, splash with a little more oil and bake 2 minutes longer.
- If chips stick together, patch with a gentle shake and spread out on the tray.
- Overcooked chips? Dump them out immediately and lower oven temp for next batch.
- Forgot to flip slices? Shield edges with foil to prevent burning and continue baking.
- heading: “Quick fixes and pantry swaps”
Prep, store, and reheat tips
- Peel and slice the cassava ahead of time, then store in an airtight container in the fridge for up to 24 hours; the slices stay fresh and prevent browning.
- Store cooled chips in an airtight container at room temperature; they remain crispy for up to 2 days, but best enjoyed fresh to preserve crunch.
- Reheat by briefly placing chips in a 180°C (350°F) oven for 3-5 minutes; listen for that crackling sound to ensure they’re crisp again.
- Avoid refrigerating for too long as moisture can make chips soggy, dulling their snap and flavor.
- If chips lose crunch, a quick re-bake will revive their crispiness, releasing that familiar toasted aroma and satisfying crackle.
Top questions about baked cassava chips
1. Can I use frozen cassava instead of fresh?
Look for firm, unblemished cassava roots; frozen grated cassava works well if fresh isn’t available.
2. Do I need to defrost frozen cassava before slicing?
Yes, just thaw and drain excess moisture before slicing to keep the chips crispy.
3. How thin should the cassava slices be?
Slice very thin, about 1mm, using a mandoline or sharp knife for even crispness.
4. What’s the perfect baking time for crispy chips?
Bake at 180°C (350°F) until golden and crackling, usually 15-20 minutes, flipping halfway.
5. Should I oil the slices before baking?
Lightly brush with olive oil and sprinkle with sea salt while warm for best flavor.
6. How do I know when the chips are ready?
Chips are done when edges are golden, crackle when handled, and smell toasted.
7. How long do baked cassava chips stay crispy?
Store cooled chips in an airtight container for up to 2 days to maintain crispness.
8. How can I re-crisp soggy chips?
Reheat in a 180°C (350°F) oven for 3-5 minutes, until crackling resumes.
9. Why are my chips not crispy?
Avoid overcrowding the baking sheet to ensure even crisping and prevent steaming.
10. Can I slice the cassava by hand?
Use a sharp knife or mandoline for uniform slices, which bake evenly and crisp better.
These baked cassava chips are more than just a snack; they’re a small act of reclaiming simplicity in a busy world. The aroma of toasted cassava and the satisfying crunch make it hard to believe they’re so easy to whip up. Sometimes, it’s the humble ingredients that remind us how close comfort and flavor can be.
Whenever I make these, I think about the joy of turning roots into something crispy and flavorful—no fuss, just honest food. They’re perfect for sharing when friends drop by or for a quiet moment alone, savoring that faint sweetness and smoky aroma. It’s a little reminder that good things often come from simple, well-loved ingredients.