
There’s something about the process of roasting sunflower seeds that turns them from plain snacks into something magical. The heat draws out a smoky, nutty aroma that fills the kitchen and makes your mouth water before you even taste. It’s a simple step, but it transforms these tiny seeds into crispy, irresistible bites that you’ll want to keep reaching for.
I started roasting sunflower seeds out of curiosity, mainly to see if I could coax out more flavor from a bag of plain seeds. Turns out, it’s just that easy — a quick bake in the oven and suddenly they’re more than just snack fodder. They’re perfect for tossing into salads, packing in lunches, or just munching straight from the bowl, warm and fragrant.
This method is a little love letter to the humble sunflower seed, highlighting how a simple heat can unlock so much more flavor and texture. It’s honest, unpretentious cooking that rewards you with a snack that’s both satisfying and deeply aromatic. Plus, no fancy ingredients needed — just seeds, a bit of oil, and some patience in the oven.
Focusing on how roasting sunflower seeds transforms their texture and flavor, making them irresistibly crispy and smoky, perfect for snacking or adding crunch to salads.
The story behind this recipe
- This recipe was born from a lazy Sunday afternoon, when I had a bag of sunflower seeds and a craving for something extra crunchy. I remembered my grandma roasting seeds over her old stove, filling the house with a warm, toasty smell that made everyone gather in the kitchen. That nostalgic scent is what I chase every time I roast my own seeds now.
- One day, I decided to experiment with oven roasting because I wanted a more controlled, even heat. The first batch was a bit overdone, but that smoky aroma and crispy texture stuck with me. It’s become a small ritual — to turn simple seeds into a snack that feels homemade and a little bit special.
- heading: ‘The story behind this recipe’
Ingredient breakdown: key components
- Sunflower seeds: I prefer raw, unsalted seeds for roasting because I control the salt and flavor. Skip if you want a milder taste.
- Oil: Just a light coating of neutral oil like grapeseed or sunflower oil helps them crisp up nicely and evenly. Too much makes them greasy.
- Salt: I like to sprinkle sea salt just before roasting for a burst of savory aroma. For a sweeter touch, try cinnamon sugar after roasting.
- Optional spices: A pinch of smoked paprika or cayenne can add a smoky or spicy kick—play around with flavors, but keep it light.
- Baking sheet: Use a rimmed sheet to spread seeds in a single layer. Crowding makes them steam instead of roast, so give them space.
- Oven temperature: Roast at 180°C (350°F). Too hot and they’ll burn quickly; too low and they won’t get that crispy crunch.
- Cooling: Spread seeds on a wire rack after roasting. They crisp up better and don’t get soggy from residual steam.
Spotlight on key ingredients
Sunflower seeds:
- I prefer raw, unsalted seeds for roasting because I control the salt and flavor. Skip if you want a milder taste.
- Oil: Just a light coating of neutral oil like grapeseed or sunflower oil helps them crisp up nicely and evenly. Too much makes them greasy.
- Salt: I like to sprinkle sea salt just before roasting for a burst of savory aroma. For a sweeter touch, try cinnamon sugar after roasting.
Oil:
- A splash of neutral oil helps achieve an even, crispy roast. Overdo it, and they’ll turn greasy or soggy.
- Salt: Enhances flavor and aroma; sprinkle just before roasting. Too early, and it might draw out moisture, softening the seeds.
Notes for ingredient swaps
- Dairy-Free: Skip butter or dairy-based oils. Use extra virgin olive oil or avocado oil for a mild flavor.
- Salt: Use sea salt or Himalayan pink salt for a different mineral note; regular table salt works fine too.
- Sweeteners: Swap salt for a light sprinkle of cinnamon sugar or maple sugar for a sweet twist.
- Spices: Add smoked paprika, chili powder, or cumin instead of plain salt for smoky or spicy flavor profiles.
- Oil: If you prefer less oil, reduce to ½ teaspoon or toss seeds dry for a lighter snack.
- Seeds: Try pumpkin or hemp seeds for variety; roasting times may vary slightly, so watch carefully.
- Optional extras: Toss in a bit of honey or maple syrup after roasting for a sticky, sweet finish.
Equipment & Tools
- Oven: To provide even, dry heat for roasting seeds.
- Rimmed baking sheet: To hold seeds and prevent spillage during roasting.
- Parchment paper: Optional, for easy cleanup and non-stick surface.
- Mixing bowl: To coat seeds evenly with oil and seasonings.
- Spatula or spoon: To stir seeds during roasting for even color and texture.
- Wire cooling rack: To cool seeds without trapping moisture, ensuring crispness.
Step-by-step guide to roasting
- Preheat your oven to 180°C (350°F). Use a rimmed baking sheet to prevent seeds from spilling. Line with parchment for easy cleanup if desired.
- Measure out 2 cups of raw sunflower seeds. Rinse briefly if they’re dusty, then pat dry thoroughly with a towel to remove excess moisture.
- In a bowl, toss seeds with 1 teaspoon of neutral oil—grapeseed or sunflower oil works well. Use your hands to coat evenly, ensuring every seed gets a light sheen.
- Sprinkle about 1/2 teaspoon of sea salt over the seeds. Toss again to distribute evenly. Feel free to add a pinch of smoked paprika or cayenne if you want a smoky or spicy edge.
- Spread the seeds in a single, even layer on the prepared baking sheet. Don’t overcrowd; give them space to crisp up.
- Bake for 12–15 minutes. During the first 5 minutes, stir gently with a spatula to promote even roasting. Watch for a golden-brown color and a fragrant, nutty aroma.
- Check for doneness: seeds should be crispy and slightly darker in color, with a smoky, roasted scent. If they’re still soft or pale, roast for a few more minutes, checking every 2 minutes.
- Once done, remove from oven and immediately transfer to a wire rack to cool. The seeds will continue to crisp as they cool down, so don’t skip this step.
- Let the seeds rest for about 10 minutes until fully cooled and crispy. Taste and adjust salt if needed. Serve warm or store once fully cooled.
Allow the seeds to cool completely on the wire rack. Store in an airtight container at room temperature for up to a week. Serve as a snack, salad topping, or mix-in for trail mix.
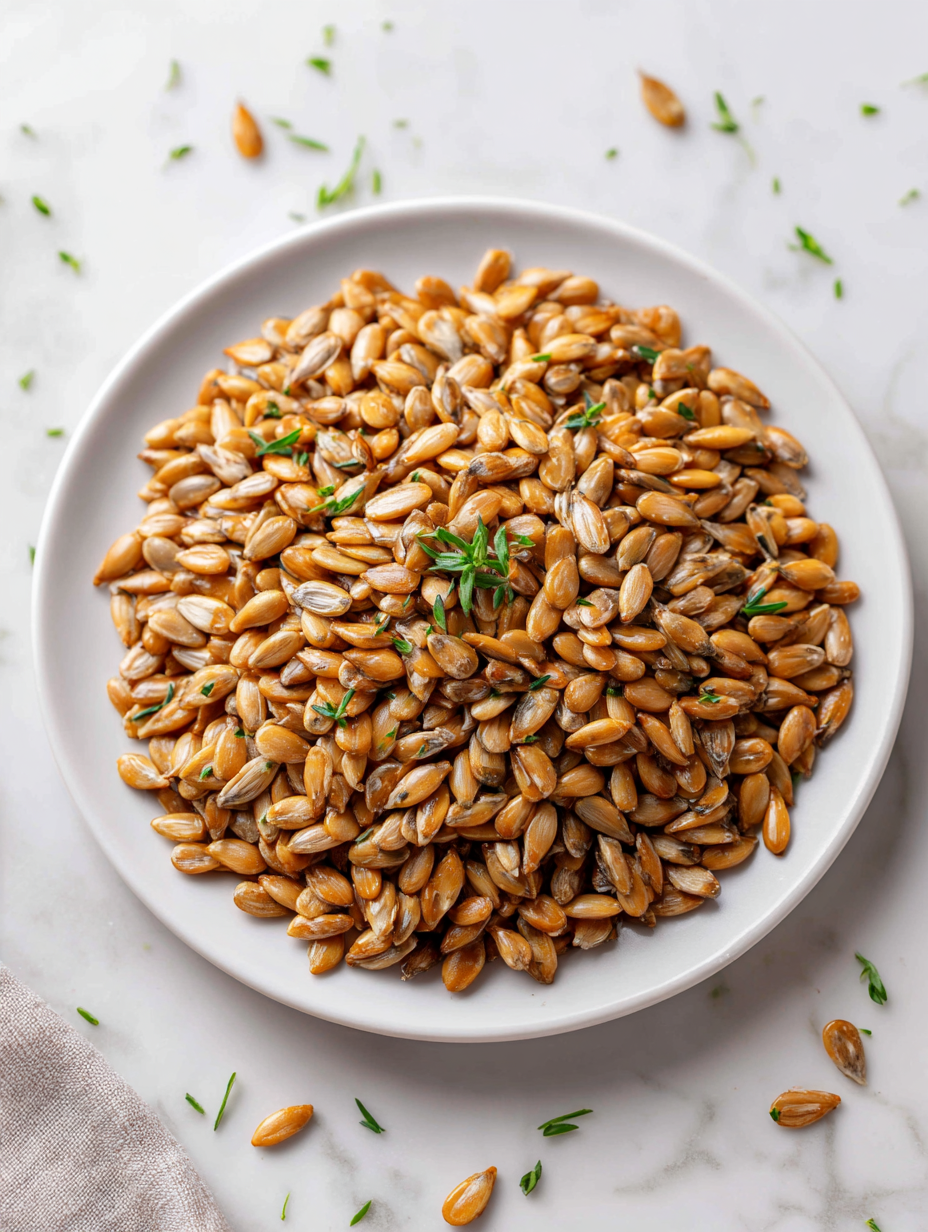
How to Know It’s Done
- Seeds are golden and fragrant with a nutty, smoky aroma.
- They feel crispy and crackle when pressed between fingers.
- No oil or moisture remains; seeds are dry and crunchy.
Roasted Sunflower Seeds
Ingredients
Equipment
Method
- Preheat your oven to 180°C (350°F) and line a rimmed baking sheet with parchment paper for easy cleanup.
- Measure out two cups of raw sunflower seeds and give them a quick rinse if they feel dusty. Pat them thoroughly dry with a towel to remove excess moisture — this helps them crisp up better during roasting.
- In a mixing bowl, toss the seeds with a teaspoon of neutral oil, using your hands or a spoon to coat them evenly. This thin layer of oil helps develop that crispy, golden texture and enhances flavor.
- Sprinkle about half a teaspoon of sea salt over the coated seeds, then toss again to evenly distribute the seasoning. Feel free to add other spices if you like a smoky or spicy kick.
- Spread the seeds in a single, even layer on your prepared baking sheet. Make sure they’re not piled up or crowded, as this can cause uneven roasting and sogginess.
- Bake the seeds in the preheated oven for about 12–15 minutes. During the first 5 minutes, stir gently with a spatula to promote even browning and aroma development. Keep an eye out for a golden-brown color and a fragrant, nutty smell.
- Check the seeds around the 12-minute mark; they should be golden, crispy, and fragrant with a smoky aroma. If they need a little more time, roast in 2-minute increments, watching carefully to avoid burning.
- Once done, remove the baking sheet from the oven and transfer the seeds immediately to a wire cooling rack. This prevents residual heat from softening them and helps maintain their crispness.
- Allow the seeds to cool completely for about 10 minutes. They will become crunchier as they cool, ready to serve or store.
- Enjoy your roasted sunflower seeds as a snack, toss them into salads, or pack them in lunches for a flavorful crunch. Store any leftovers in an airtight container at room temperature for up to a week.
Notes
Pro tips for perfect roasted seeds
- Use a hot oven early to jumpstart the crisping process and prevent sogginess.
- Stir seeds halfway through roasting to promote even browning and aroma development.
- Keep a close eye in the last 2 minutes; seeds can go from perfect to burnt quickly.
- Spread seeds on the cooling rack immediately after baking to prevent residual heat from softening them.
- For extra flavor, toss roasted seeds with herbs or spices while still warm for better adhesion.
- If seeds are unevenly roasted, shake the pan gently during roasting for more uniform color.
- Store cooled seeds in an airtight container to preserve their crunch and smoky aroma.
Common mistakes and how to fix them
- FORGOT to preheat the oven → Always preheat to ensure even roasting.
- DUMPED seeds on hot sheet → Spread seeds in a single layer for crispness.
- OVER-TORCHED the seeds → Check early; remove when golden and fragrant.
- MISSED cooling step → Cool on a wire rack to keep seeds crispy.
Quick fixes and pantry swaps
- If seeds appear pale, splash with a bit more oil and roast 2 minutes longer.
- When seeds are burnt, immediately dump into a bowl with cold water to stop cooking.
- Splash with lemon juice if seeds taste flat or dull after roasting.
- Patch over-salted seeds by rinsing briefly under cold water, then dry thoroughly.
- Shield seeds from humidity with an airtight container; shimmer of freshness lasts longer.
Prep, store, and reheat tips
- You can toast the sunflower seeds a day in advance; store in an airtight container to keep them crispy.
- Keep roasted seeds at room temperature for up to one week; they retain their smoky crunch and aroma well.
- For longer storage, freeze seeds in a sealed bag for up to a month; reheat in a 150°C (300°F) oven for 5 minutes until fragrant.
- Reheating brings back some of the crunch and warmth; smell should be smoky and inviting, with a slight crackle when pressed.
- Avoid moisture exposure, as it softens the seeds and dulls their flavor. Keep them sealed and dry.
FAQs about Roasted Sunflower Seeds
1. How do I choose good sunflower seeds for roasting?
Look for seeds that smell nutty and fresh, not stale or sour. They should feel dry and crunchy when pressed.
2. What’s the ideal oven temperature and time?
Roast at 180°C (350°F) for about 12-15 minutes. Seeds turn golden and smell smoky when done.
3. How should I arrange seeds on the baking sheet?
Spread seeds in a single layer on a rimmed baking sheet. Stir halfway through to ensure even roasting.
4. Should I cool the seeds before storing?
Let the seeds cool completely on a wire rack. They’ll become crispier as they cool down.
5. How long can I keep roasted sunflower seeds?
Store in an airtight container at room temperature for up to a week. Keep away from humidity and direct sunlight.
6. What if the seeds overcook or burn?
If seeds taste burnt or bitter, reduce roasting time or temperature. Remove immediately if they start to blacken.
7. Can I spice up my roasted seeds?
Add spices like smoked paprika or cayenne before roasting for extra flavor. Toss with herbs or sweeteners after for variation.
8. What type of oil should I use?
Use any neutral oil like grapeseed or sunflower oil. Too much oil can make them greasy, so coat lightly.
9. How do I avoid soggy seeds?
Roast in small batches for more control. Overcrowding leads to steaming, not roasting, and can soften seeds.
10. How do I fix under-roasted seeds?
If seeds aren’t crunchy after roasting, return them to the oven for a few extra minutes, checking often.
Roasted sunflower seeds hold a quiet magic, turning simple ingredients into a deeply smoky, crunchy snack. It’s a small act, but one that fills the kitchen with a warm, nostalgic aroma that’s hard to replicate with store-bought versions.
Whenever I make these, I’m reminded of lazy weekends and my grandma’s old stove. It’s not just about the flavor, but capturing a moment of comfort and simplicity—something I keep coming back to, especially now when I need a bit of honest, unpretentious joy.